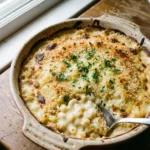
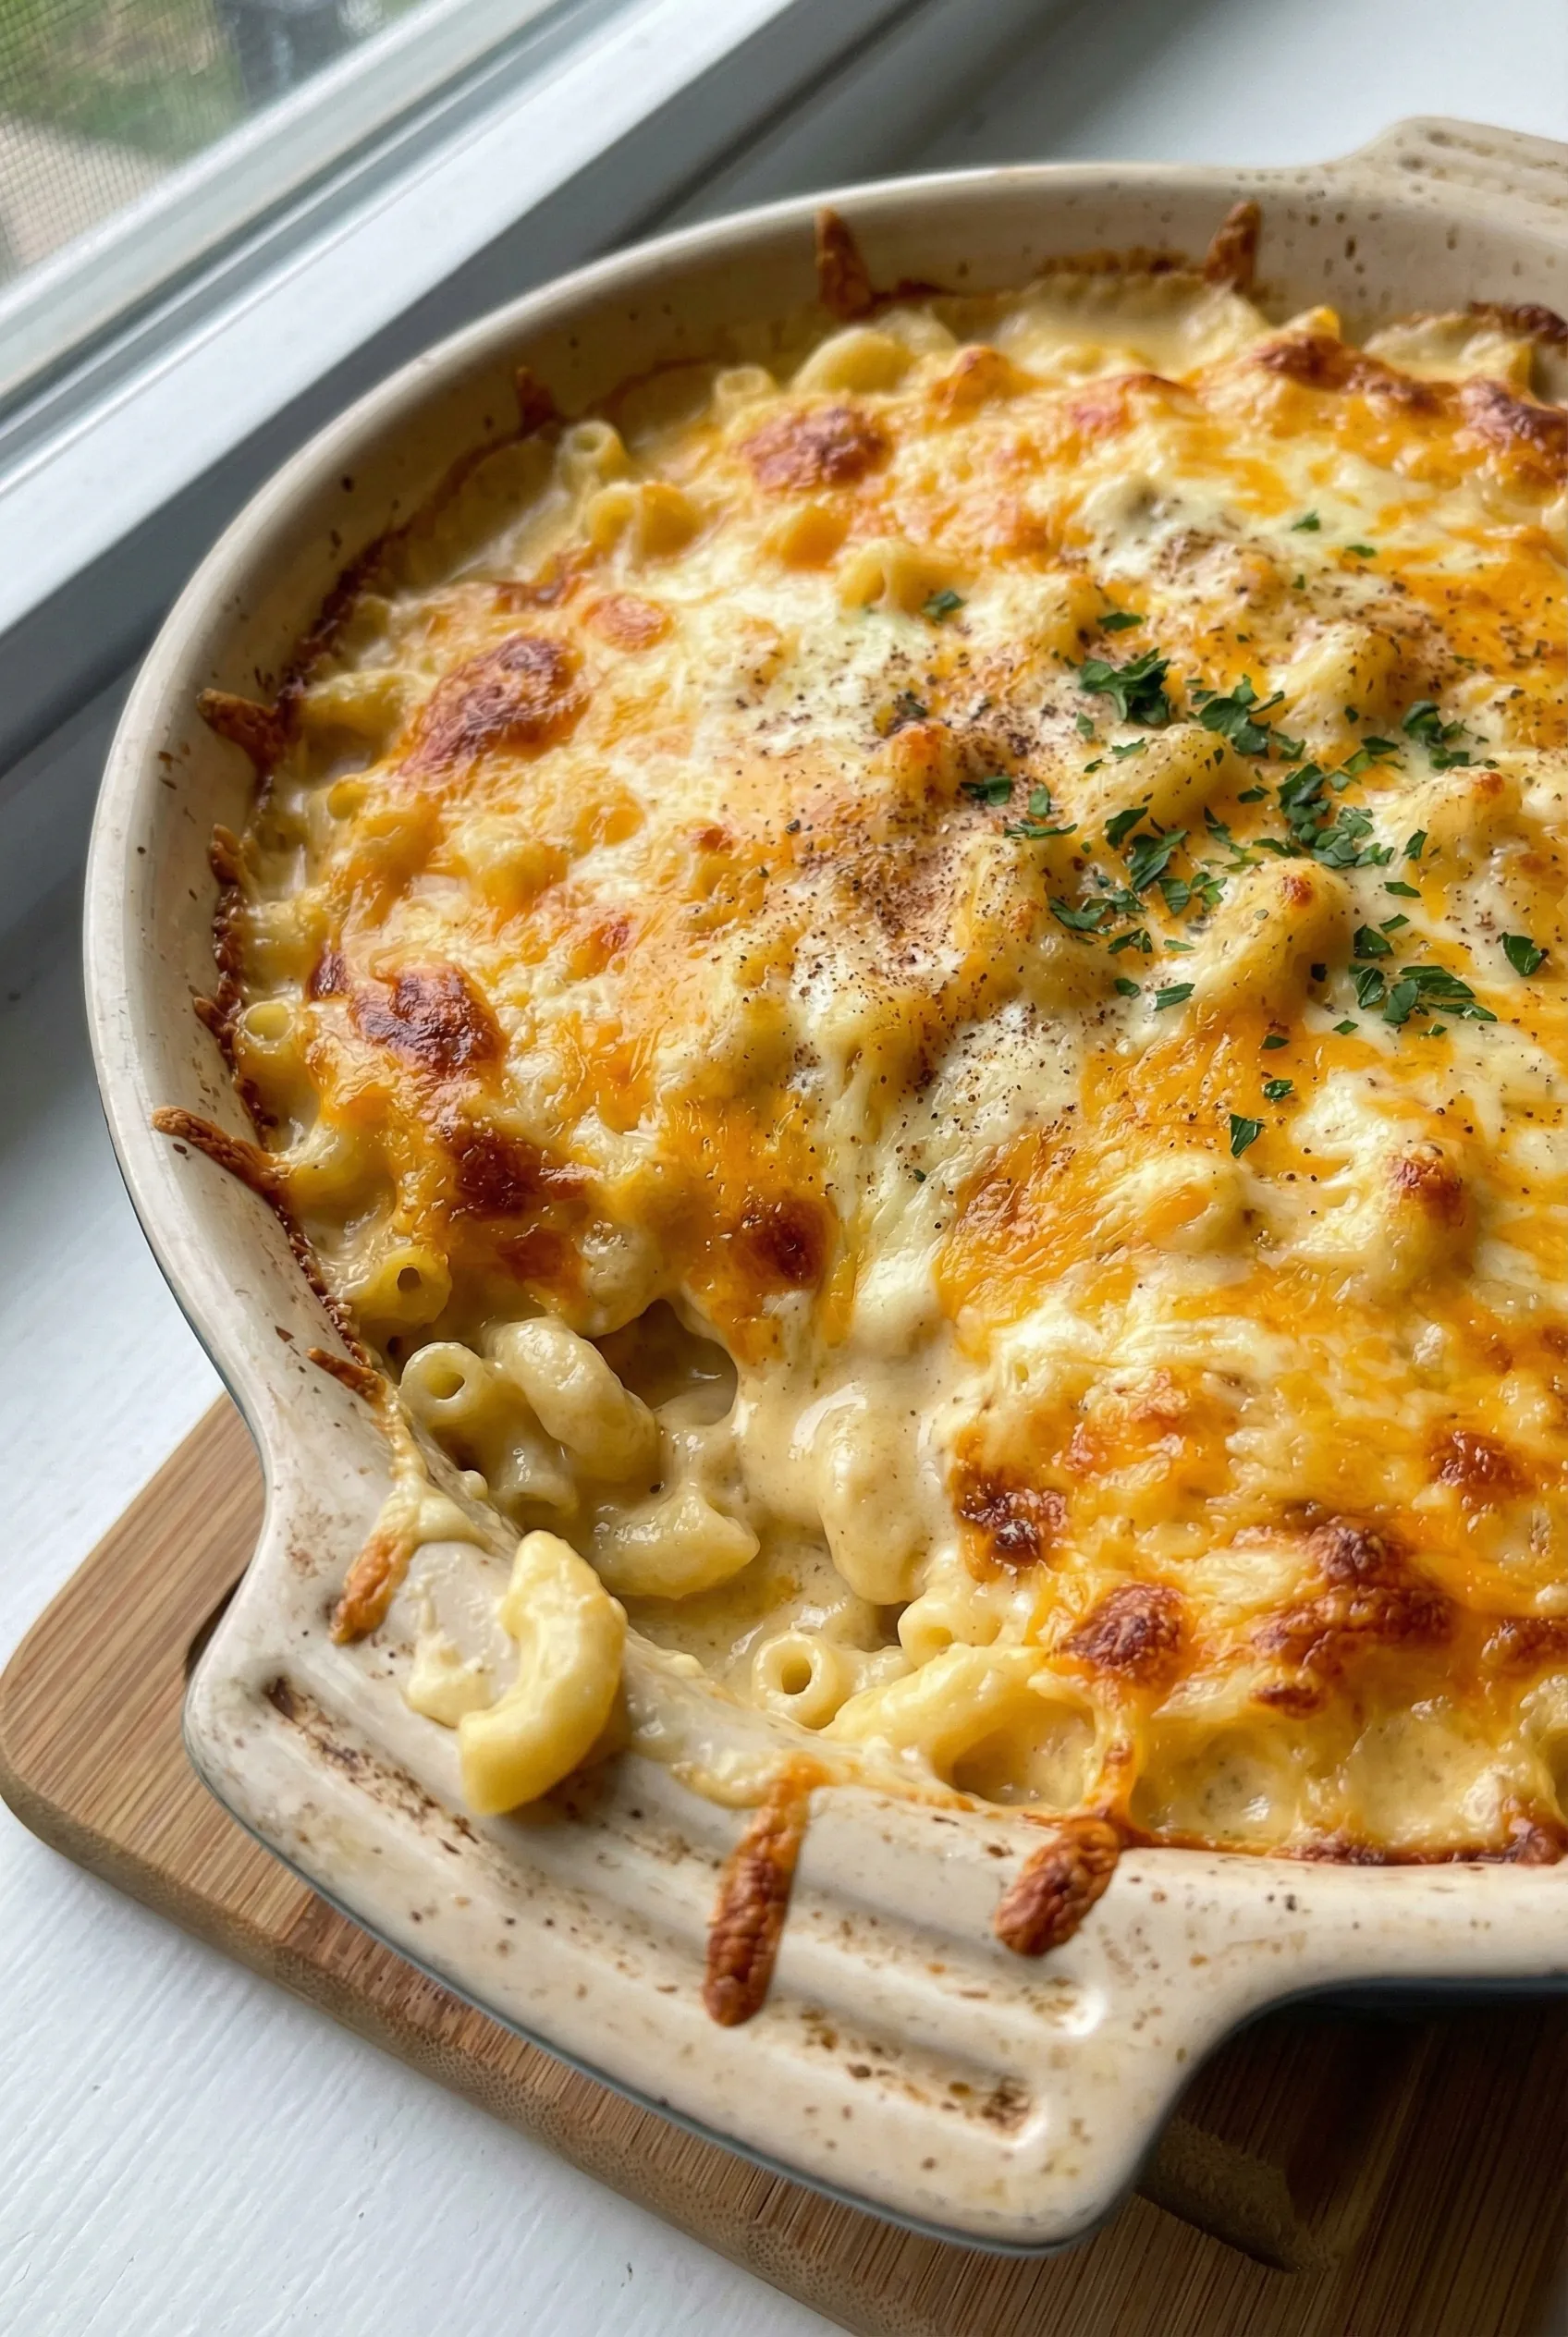
Let me tell you about the time I made Baked Mac and Cheese for my friends’ game night. I was excited but a bit nervous because I knew this dish had to be perfect! Trust me when I say, it was a game-changer. Everyone raved about it, and I’ve made it dozens of times since then. It’s become my go-to comfort food that never fails to impress! If you’re looking for a creamy, cheesy delight that will warm your heart and satisfy your cravings, you are in for a treat!
Why You’ll Love This Baked Mac and Cheese
- Easy to Make: With simple ingredients and straightforward steps, this recipe is perfect for cooks of all skill levels.
- Endless Versatility: You can customize it with your favorite cheeses, veggies, or proteins, making it a dish that can change with your mood.
- Visually Appealing: That golden, bubbling crust on top? It’s not just delicious; it looks stunning too!
- Make-Ahead Convenience: Prepare it in advance and pop it in the oven when you’re ready. Perfect for gatherings!
- Ultimate Comfort Food: Each bite offers a warm, comforting embrace that’s perfect for cozy nights in.
The Secret to Perfect Baked Mac and Cheese
The secret to achieving that creamy, dreamy consistency lies in the cheese blend! I use a combination of sharp cheddar for flavor and creamy mozzarella for stretchiness. But the real kicker? A touch of nutmeg adds a subtle warmth that elevates the dish to new heights. Trust me, it’s all about balance. Make sure you use freshly grated cheese, as it melts better than pre-shredded varieties. And don’t forget to cook the pasta until it’s al dente; this way, it won’t turn mushy in the oven!
Rave Reviews from Friends and Followers
“This Baked Mac and Cheese is a masterpiece! I can’t believe how easy it was to make, and my family devoured it!” – Sarah K.
“I’ve tried many recipes, but this one takes the cake! The flavors are fantastic, and I love how creamy it is.” – Mike R.
“Every time I make this for my friends, they ask for the recipe! It’s a total crowd-pleaser.” – Jessica L.
Creative Variations to Try
- Buffalo Chicken Mac: Mix in shredded buffalo chicken for a spicy kick.
- Veggie Delight: Add your favorite vegetables like broccoli, spinach, or roasted red peppers for a healthier twist.
- Truffle Mac: Drizzle some truffle oil before baking for a luxurious flavor.
- Smoky Bacon Mac: Fold in crispy bacon bits for that smoky goodness.
Bonus: Try adding a sprinkle of paprika on top before baking for a pop of color and flavor!
FAQs – All Your Questions Answered!
Can I make this dish ahead of time? Yes! You can prepare it a day in advance and store it in the refrigerator. Just bake it when you’re ready to serve.
What type of pasta works best? Elbow macaroni is traditional, but you can use any pasta shape you love. Just keep an eye on the cooking time!
Can I freeze Baked Mac and Cheese? Absolutely! Just ensure it’s fully cooled before freezing in an airtight container. It can last up to 3 months in the freezer.
What should I do if it’s too dry after baking? If it’s too dry, you can add a splash of milk before serving to moisten it up. Stir it gently to combine.
Storage/Serving Tips
- Store leftovers in an airtight container in the refrigerator for up to 4 days.
- When reheating, add a splash of milk to keep it creamy.
- Serve with a side salad or garlic bread for a complete meal.
Perfect Occasions for Baked Mac and Cheese
- Game nights with friends
- Family gatherings and potlucks
- Cozy movie nights at home
- Celebrating a birthday or special occasion
- Weekend comfort food cravings
The Complete Recipe
Thank you for sticking with me! Now, let’s dive into making this incredible Baked Mac and Cheese.
Baked Mac and Cheese
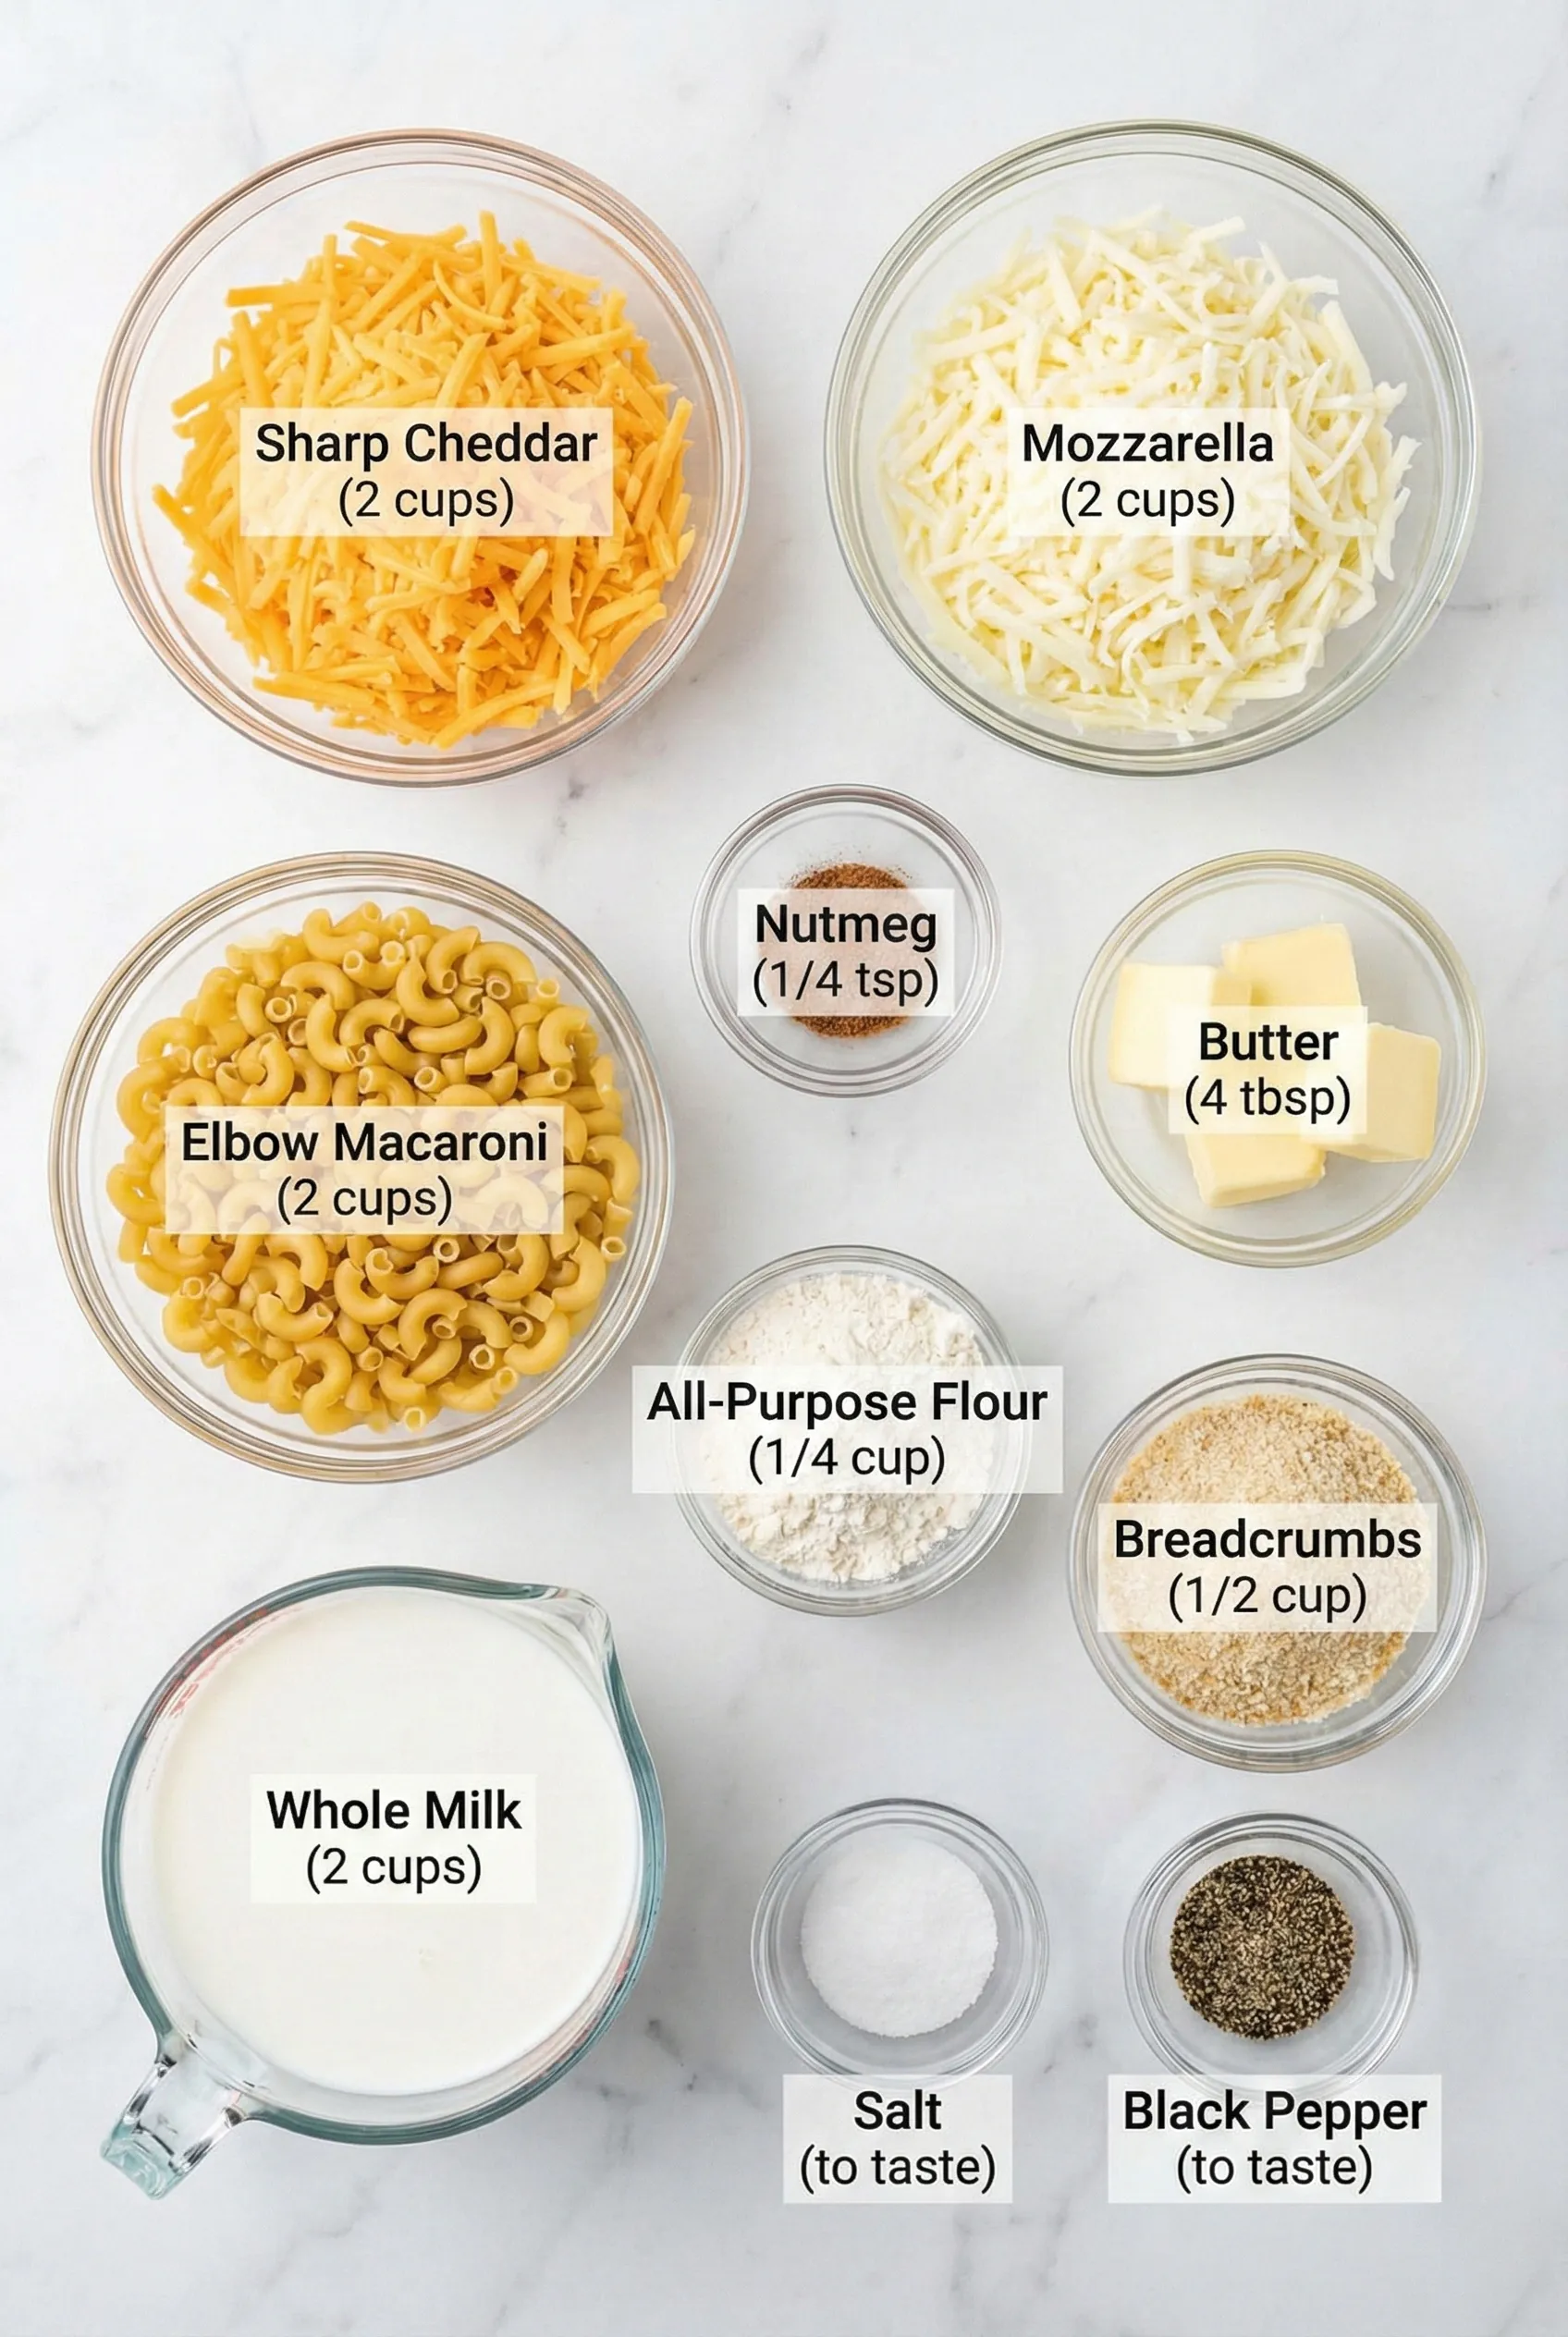
Ingredients
- 8 oz elbow macaroni
- 2 cups shredded sharp cheddar cheese
- 1 cup shredded mozzarella cheese
- 2 cups milk
- 3 tbsp butter
- 1/4 cup all-purpose flour
- 1 tsp garlic powder
- 1/2 tsp nutmeg
- Salt and pepper to taste
- 1 cup breadcrumbs
- 2 tbsp olive oil
Tip: Always use freshly grated cheese for the best melting quality. Pre-shredded cheese contains anti-caking agents that can prevent it from melting smoothly.
Extend ingredients section: If you want to experiment, consider adding diced ham, sautéed mushrooms, or a blend of different cheeses like gouda or fontina for deeper flavor. Each ingredient plays a crucial role in achieving that perfect creamy texture and rich taste!
Step-by-Step Instructions
Step 1: Cook the Pasta
Start by cooking the elbow macaroni in a large pot of salted boiling water. Cook it until just al dente, usually about 6-8 minutes. Drain and set aside, ensuring you don’t overcook it as it will continue to cook in the oven.
Step 2: Make the Cheese Sauce
In a saucepan over medium heat, melt the butter. Once melted, whisk in the flour to create a roux, cooking for about a minute until it’s golden. Gradually add the milk while whisking continuously to avoid lumps. Cook until the mixture thickens, about 5-7 minutes.
Step 3: Add the Cheese
Once your sauce is thickened, reduce the heat to low and stir in the sharp cheddar and mozzarella cheese until melted and creamy. Add garlic powder, nutmeg, salt, and pepper to taste. This is the moment when the magic happens!
Step 4: Combine Pasta and Sauce
In a large mixing bowl, combine the cooked pasta and cheese sauce, stirring until every noodle is coated in that luscious sauce. This is where the heart of our Baked Mac and Cheese lies!
Step 5: Prepare for Baking
Preheat your oven to 350°F (175°C). Transfer the mac and cheese mixture into a greased baking dish, smoothing the top. In a small bowl, mix the breadcrumbs with olive oil and sprinkle this crunchy topping over the macaroni.
Step 6: Bake to Perfection
Pop the dish into the oven and bake for 25-30 minutes or until the top is golden brown and bubbling. The aroma will be irresistible, and you’ll know it’s almost time to dig in!
Nutrition Info:
Each serving of this delightful Baked Mac and Cheese is rich in calories but packed with flavor. A typical serving contains about 400 calories, depending on the cheese used. Enjoy it as an occasional treat!
Extend instructions: If you’re looking for a quicker option, you can also make this dish in a slow cooker or Instant Pot! Just follow the same steps but adjust the cooking time accordingly. Presentation matters, so consider serving it in individual ramekins for a fancy touch!
Final Thoughts
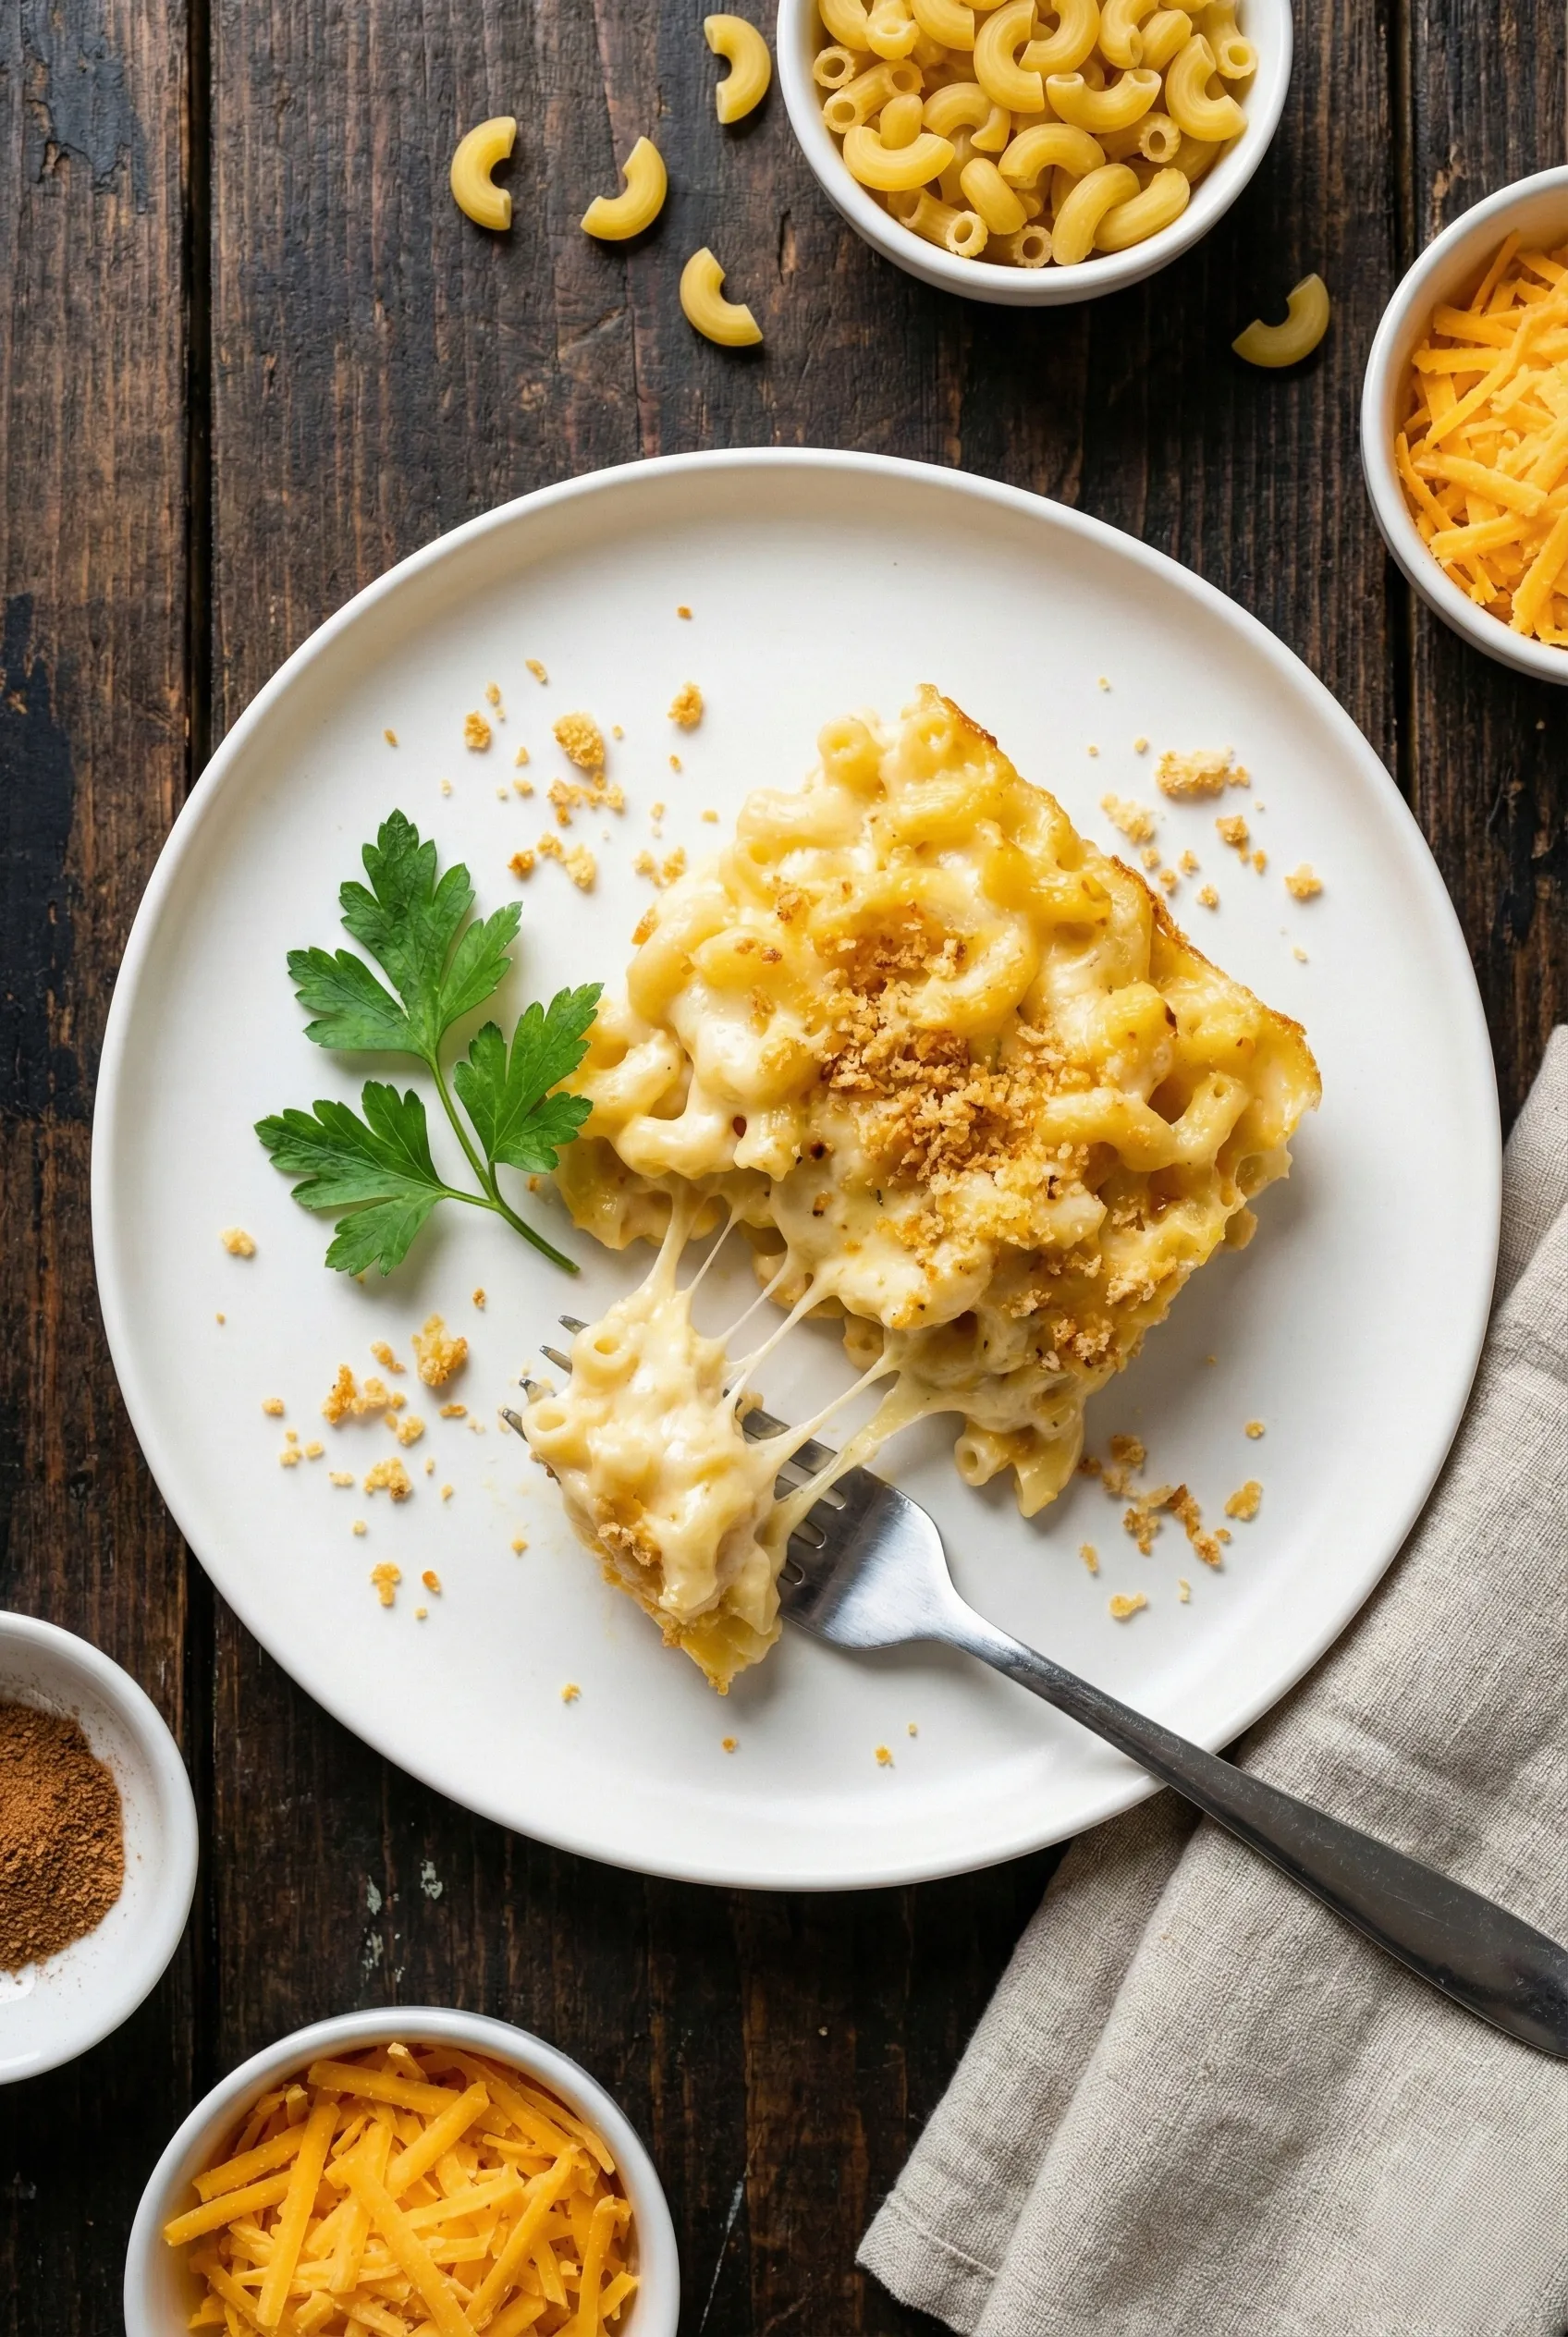
There you have it! This Baked Mac and Cheese
Baked Mac and Cheese
-
Total Time:
45 mins -
Yield:
4 servings
Indulge in creamy, cheesy baked mac and cheese with a golden crust that offers the perfect blend of comfort and flavor in every bite.
Ingredients
- • 8 oz elbow macaroni
- • 2 cups shredded sharp cheddar cheese
- • 1 cup shredded mozzarella cheese
- • 2 cups milk
- • 3 tbsp butter
- • 1/4 cup all-purpose flour
- • 1 tsp garlic powder
- • 1/2 tsp nutmeg
- • Salt and pepper to taste
- • 1 cup breadcrumbs
- • 2 tbsp olive oil
Instructions
- Cook the elbow macaroni in a large pot of salted boiling water until just al dente, about 6-8 minutes. Drain and set aside.
- In a saucepan over medium heat, melt the butter. Whisk in the flour to create a roux, cooking for about a minute until golden.
- Gradually add the milk while whisking continuously to avoid lumps. Cook until the mixture thickens, about 5-7 minutes.
- Reduce heat to low and stir in the sharp cheddar and mozzarella cheese until melted and creamy. Add garlic powder, nutmeg, salt, and pepper to taste.
- In a large mixing bowl, combine the cooked pasta and cheese sauce, stirring until every noodle is coated.
- Preheat your oven to 350°F (175°C). Transfer the mac and cheese mixture into a greased baking dish.
- Mix the breadcrumbs with olive oil and sprinkle over the macaroni.
- Bake for 25-30 minutes or until the top is golden brown and bubbling.
Notes
Storage: Store leftovers in an airtight container in the fridge for up to 3 days.
- Prep Time: 15 mins
- Cook Time: 30 mins
- Category: Main Course
- Cuisine: American
- Method: Oven